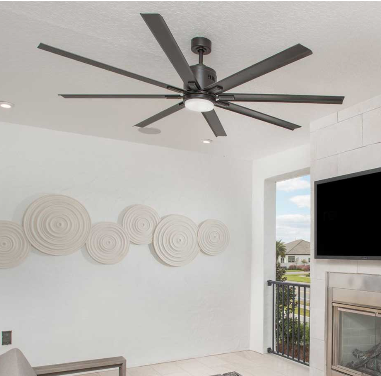

Both aim, and that is where the similarity stops. A gimbal pivots inside the housing and sits close to flush with the ceiling. An eyeball is a ball that rotates in a socket and protrudes below the ceiling line, which is uglier and lets it reach angles the gimbal cannot. Choosing between them is a trade-off between how the ceiling looks and how far you need to point.
TL;DR
Gimbal trims pivot inside the housing and stay nearly flush, so the ceiling reads clean. Eyeball trims sit proud of the ceiling and swing further, which suits a wall a long way from the fixture.
The catch most people meet after installation is beam cutoff: pushed to full tilt, a gimbal’s own aperture clips the edge of a wide beam and the light goes lopsided. Above the ceiling, the label matters more than the style. The Department of Energy’s Building America Solution Center calls for recessed luminaires to be IC-rated and labelled at no more than 2.0 cfm of air leakage, tested to ASTM E283, then sealed to the ceiling with gasket or caulk.
Three Parts, Bought Separately
A recessed light is three things, and people price it as one, which is where most of the confusion starts.
| Part | What it does | Can you change it later? |
| Housing | The can above the ceiling; holds the wiring and the socket | not without opening the ceiling |
| Trim | the visible ring and whatever aims, shields, or diffuses | yes, in minutes |
| Lamp | the light source and, with a reflector lamp, the beam | yes |
That third column is the useful one. The trim is the cheapest part of the assembly and the only part you can swap from a stepladder, so it is where to correct a lighting plan that did not work out. Fixed trims coming out and adjustable ones going in is a very common fix, and because recessed light trims are sold separately from the cans, it needs no electrician and no drywall.
The housing is the decision you live with. Get that one right.
How the Aiming Trims Compare
Five trim styles cover nearly every can in a house. Only two of them really aim.
| Trim | Sits | Aims? | Best at |
| Gimbal | almost flush | yes, pivots in the housing | clean ceilings, moderate angles |
| Eyeball | protrudes below the ceiling | yes, rotates in a socket | steep angles, distant walls |
| Baffle | flush, ribbed interior | no | absorbing stray light, glare control |
| Reflector | flush, smooth interior | no | pushing maximum output down |
| Wall wash | flush, with a shield | partially; the shield steers | even light down a wall |
Baffle and reflector are the two fixed trims worth understanding, because they are opposites doing the same job. The ribbed black interior of a baffle soaks up light that would otherwise bounce around the aperture and glare at you. A polished reflector does the reverse and throws as much of it down as possible. Bedrooms and media rooms take baffles. Kitchens and work areas usually want reflectors.
Wall wash trims are the quiet answer to a problem people try to solve with gimbals. If the goal is even light down a whole wall rather than a spot on one object, the shielded trim does it better and does not need aiming at all.
The Beam Cutoff Problem Nobody Mentions
Here is the detail that decides the choice more often than looks do.
A gimbal pivots inside the aperture, so at moderate angles the ring is out of the way, and everything is fine. Push it to the end of its travel, and the aperture edge starts to sit in front of part of the beam. With a narrow lamp, you may never notice. With a wide one, the trim shaves off a crescent and the pool of light on the wall goes visibly uneven, brighter on one side and cut off on the other.
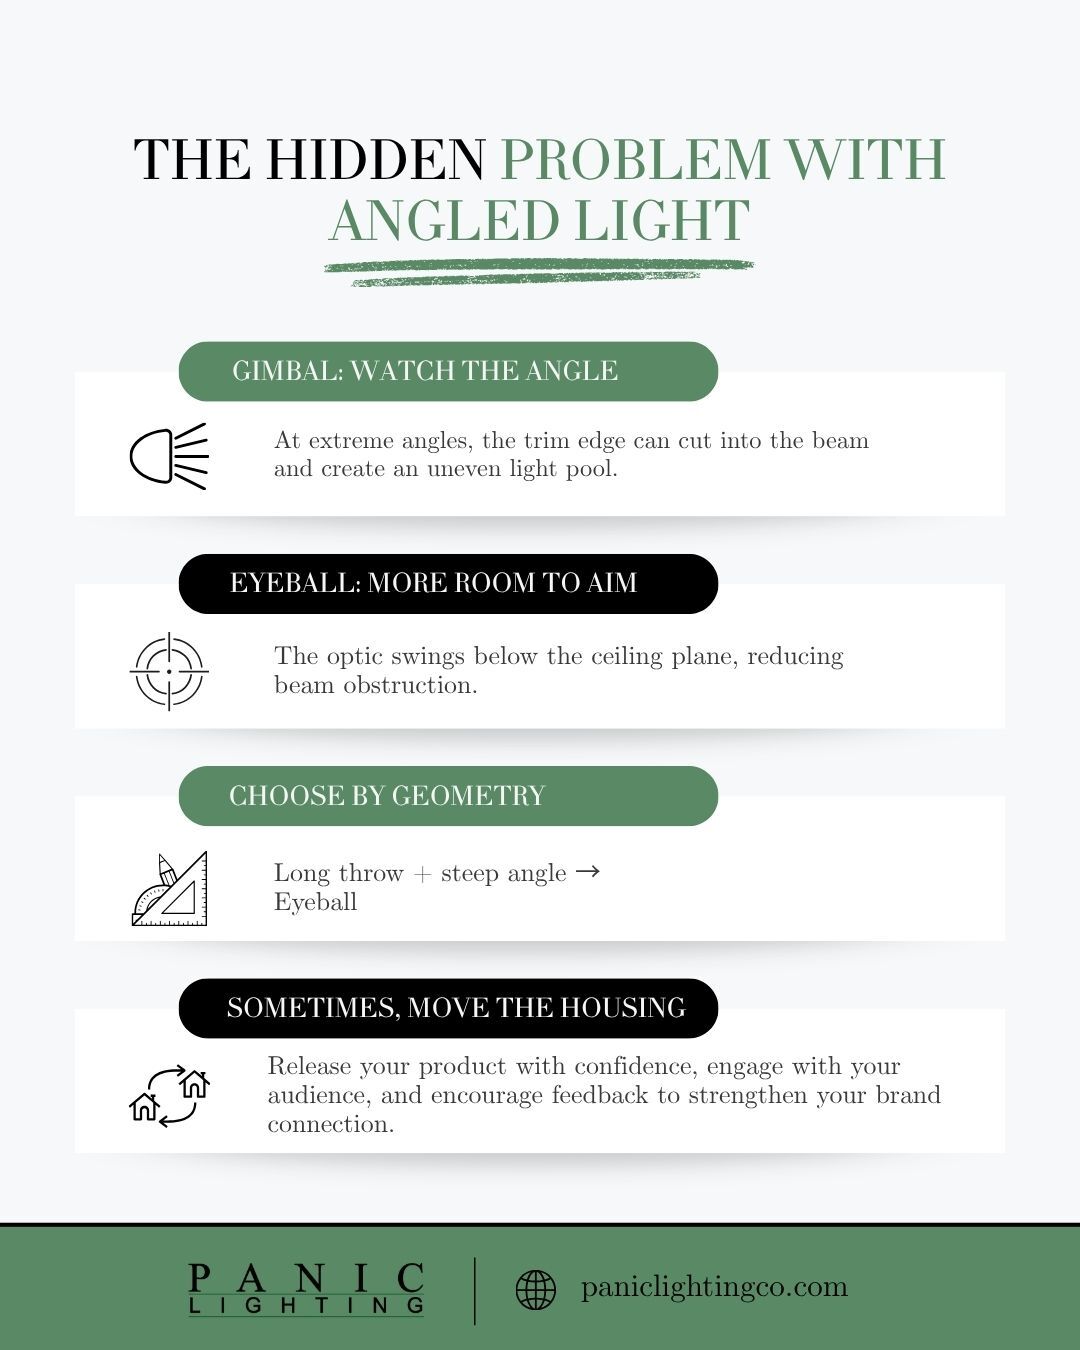
The eyeball does not have this problem to the same degree, because the whole optic swings out below the ceiling plane and nothing is left overhanging it. That protrusion is the price.
So the rule is about geometry rather than taste. Short throw, modest angle, wide beam: gimbal. Long throw, steep angle: eyeball, or move the housing.
Moving the housing is the answer people forget. If a gimbal has to be cranked to its stops to reach the target, the can is in the wrong place, and on a remodel job it is often easier to cut a new hole than to accept a clipped beam for the next fifteen years. Our adjustable recessed trims sit with the rest of the aiming fixtures for that reason, because the trim and the position are one decision.
What the Label Above the Ceiling Has to Say
The part you cannot see is regulated, and the two words to look for are IC and airtight.
The Building America Solution Center, the Department of Energy’s building-science library, states that recessed luminaires should be IC-rated and labelled as having an air leakage rate of no more than 2.0 cfm when tested in accordance with ASTM E283 at a 75 Pa pressure differential, and that they should be sealed with a gasket or caulk between the housing and the ceiling covering. The brief cites IECC and IRC section R402.4.5 and N1102.4.5 as the governing provision.
IC stands for insulation contact. A fixture without that rating has to be kept clear of insulation, which is why older installations have a bare gap in the attic blanket around every can. Each of those gaps is a hole in the thermal envelope, and a ceiling full of them adds up to a meaningful heating bill in an Ohio winter.
Airtight is the second half of the same problem. Warm air rises, finds the gap around an unsealed housing, and leaves. In an older Columbus house with a cold attic, that path runs all winter.
Which edition of the code applies is a local question, decided by the adopted edition where you are building, so the number to work from is whatever your building department is enforcing this year. The rating on the box, though, is the same everywhere: look for IC and for the airtight label.
There is a practical reason this matters more in a retrofit than in new construction. On a new build, the insulation goes in after the cans, and the installer can see what they are working around. In a house from the 1950s that has had blown-in insulation added to the attic at some point since then, nobody looked; the insulation was blown in over whatever was already up there, including fixtures that were never rated to be buried. That combination is common in the older Columbus stock, and it is worth knowing about before adding more cans to the same ceiling.
If you are unsure what is up there, the label is usually printed on the top or the side of the housing, and a photograph from the attic answers it in one trip. Where the existing housings turn out not to be IC-rated, there are two honest options, and neither is to bury them anyway. Either fit a cover box rated for the purpose, which keeps the insulation off the fixture while sealing the gap, or replace the housings when the ceiling is next opened. An electrician should make that call rather than a lighting store.
Ceiling type changes the answer too. A can in a ceiling below a heated second storey is not in the thermal envelope at all, so the airtight requirement is a different conversation from the same fixture in a top-floor ceiling under a cold attic.
Black or White Inside? The Aperture Colour Question
This is the detail that separates a ceiling that looks calm from one that nags at you, and almost nobody asks about it in the store.
Look up at a lit downlight, and you are looking into a small, very bright hole. How much that hole bothers you depends on what the inside of the trim is finished in. A black or dark bronze interior absorbs the light that hits it, so the aperture stays visually dark, and only the beam coming out of it registers. A white or polished interior lights up along with everything else, which puts a row of bright discs across the ceiling.
Designers reach for dark apertures almost by default in living spaces, media rooms and bedrooms, and for anywhere the ceiling is a feature rather than a surface. The trade-off is a small loss of output, because light absorbed inside the trim is light that never reaches the floor.
White apertures earn their place in the rooms where output matters more than the look of the ceiling: kitchens, laundry, garages, workshops. They also disappear better against a white ceiling when the lights are off, which matters in a room with a lot of cans in it.
Aiming changes the calculation again. A trim you have tilted toward a wall is presenting more of its interior to people standing in the room than a straight-down one does, so the case for a dark aperture gets stronger the more you plan to aim. The same fixture that looked fine pointing at the floor can glare noticeably once it is pointed at a picture.
There is no rule here, only a decision most people never get offered. Look up at a lit sample of each before you buy twelve of one.
Can You Reuse the Housings You Already Have?
Often, it is the cheapest upgrade in the house.
If the existing cans are IC-rated and airtight, changing the trim and the lamp gets you aiming, better colour, and far less heat without touching the ceiling. A remodel housing is the option when there is no can at all: it goes in through the finished ceiling and clips to the drywall, which is what remodel housings are built for.
Two things are worth checking before committing to the old hardware.
The first is heat. Older housings were designed around incandescent and halogen lamps that ran hot, and dropping an LED module into one is usually fine, but a trim with a plastic lens sitting in a housing that was never meant to be sealed up can behave differently than the original assembly did.
The second is whether the fixture has been recalled. Recessed trim assemblies have been recalled before, and the failure mode was heat-softening plastic trim until it dropped out of the ceiling. The CPSC’s lighting equipment recall listing is searchable and free, and it takes about a minute to check a brand and model before spending money on new trims to fit an old housing. Worth doing on anything you did not install yourself.
Spacing, Aiming and How Many
Aimable trims change the spacing question, because they are not lighting the floor.
Fixed downlights get laid out on a grid to cover a room evenly. Aimed ones get placed relative to what they are pointing at, which usually means fewer of them and in less regular positions. A ceiling of evenly spaced gimbals all cranked toward the same wall looks like a mistake, because it is one.
| Goal | Placement approach |
| Light one object | One fixture, offset to the side so the beam is not straight-on |
| Light art on a long wall | a row set out from the wall, spaced at about the same interval as the offset |
| General room light | Fixed trims on a grid; aimed trims are the wrong tool |
| Both | Two circuits, so the aimed layer dims separately |
That last row is the one worth spending money on. Aimed light needs an ambient layer to work against, and if the two are on one switch, you can never turn the room down without turning the feature off as well. Our full guide to what directional lighting is for covers the layering side and how beam angle interacts with ceiling height.
Bring Your Ceiling Details Before Choosing Recessed Trims
Measure the aperture before you shop. Trim sizing follows the can, and a four-inch trim will not fit a six-inch housing no matter how similar the pictures look. If you can get into the attic, photograph the label on top of the housing, because the brand and the IC marking are usually printed there, and it settles half the conversation before it starts.
Bring the ceiling height, a rough note of where the cans currently sit, and a photograph of what you want lit. If the plan is new cans rather than new trims, the position matters more than the product, and it is worth working out on paper first.
We keep trims out of the packet on the floor so you can see how far a gimbal actually travels before it starts clipping. Come and try a few at Panic Lighting Co. on Silver Drive.