
Directional lighting is any light you can aim. The fixture holds the lamp in a mount that tilts, swivels, or does both, so the beam lands where you point it rather than spreading evenly across everything below. That one ability is the whole difference between a spotlight over a painting and the flush mount in your hallway, and it is why the category exists as its own aisle.
TL;DR
Directional lighting covers any fixture built to be aimed: adjustable recessed trims, mono-points, track heads, wall-mounted spots, and outdoor uplights. Beam angle decides what the light actually hits, and NEMA sorts beam spreads into seven types, from very narrow at 10 to 18 degrees up to very wide above 130 degrees. Narrow beams pick out one object. Wide beams wash a surface. For artwork, the aiming matters less than the dose, and works on paper tolerate far less light than an oil painting does. A directional bulb and a directional fixture are two different purchases, and confusing them is the most common mistake we see at the counter.
What Does “Directional” Actually Mean on a Fixture Label?
ERCO, the German architectural lighting maker, defines directional light as direct lighting concentrated on a narrow area, where the lit surface stands out because everything around it stays darker. Contrast is the point. Take the contrast away, and you have a room light.
That definition matters because it separates two jobs people mix up. Ambient light fills a room so you can move through it safely. Directional light removes the fill from most of the room on purpose, so the one thing you aimed at reads as the thing worth looking at.
Task light sits somewhere between the two. A reading lamp is aimed, but it is aimed at your hands rather than at anything you want a guest to notice.
The bulb and the fixture are not the same product
Two searches land on our category page every week, and they want different things. A directional bulb is a lamp with a built-in reflector that throws light forward in a cone, which is what a PAR or an MR16 is. A directional fixture is the housing that lets you point that cone somewhere specific.
Put an omnidirectional bulb, the ordinary A19 shape, into a tilting trim, and the housing still tilts. The beam does not tighten. You get soft light pointed vaguely at a wall, which is why people come back convinced the fixture is faulty.
Buy the housing for the aiming and the lamp for the beam. They are separate decisions, and the store sells them on separate aisles for that reason.
Beam Angle Is the Number That Decides Everything
Beam angle is the width of the cone, measured in degrees. The trade sorts beam spreads using the NEMA classification, published in Hubbell’s flood selection guide among other manufacturer references, and once you know which type you need, most of the catalogue stops being relevant.
| NEMA type | Beam spread | What it suits |
| 1, very narrow | 10 to 18 degrees | a sculpture, a single object on a plinth |
| 2, narrow | 18 to 29 degrees | framed art, a fireplace, a niche |
| 3, medium narrow | 29 to 46 degrees | a large canvas, a run of shelving |
| 4, medium | 46 to 70 degrees | a countertop, a reading chair |
| 5, medium wide | 70 to 100 degrees | general room light from a can |
| 6, wide | 100 to 130 degrees | wall washing from close range |
| 7, very wide | above 130 degrees | broad ambient fill |
One detail in the same guide is worth knowing, because it explains why two fixtures with the same headline number can behave differently. The classification measures the two edges where intensity has fallen to a tenth of the maximum, horizontally and vertically, so a head can carry a different type in each direction and get written as something like NEMA 4×3.
Distance is the part nobody mentions. The same cone keeps widening as it travels, so a beam that frames a picture perfectly from an eight-foot ceiling turns into a vague pool of light from a vaulted one. Higher ceiling, narrower beam. That relationship is the single most useful thing to hold onto in this whole article.
The Fixtures People Mean When They Say Directional
The word covers a shelf full of very different hardware. Here is what each one is actually for.
Gimbal, eyeball and adjustable recessed trims
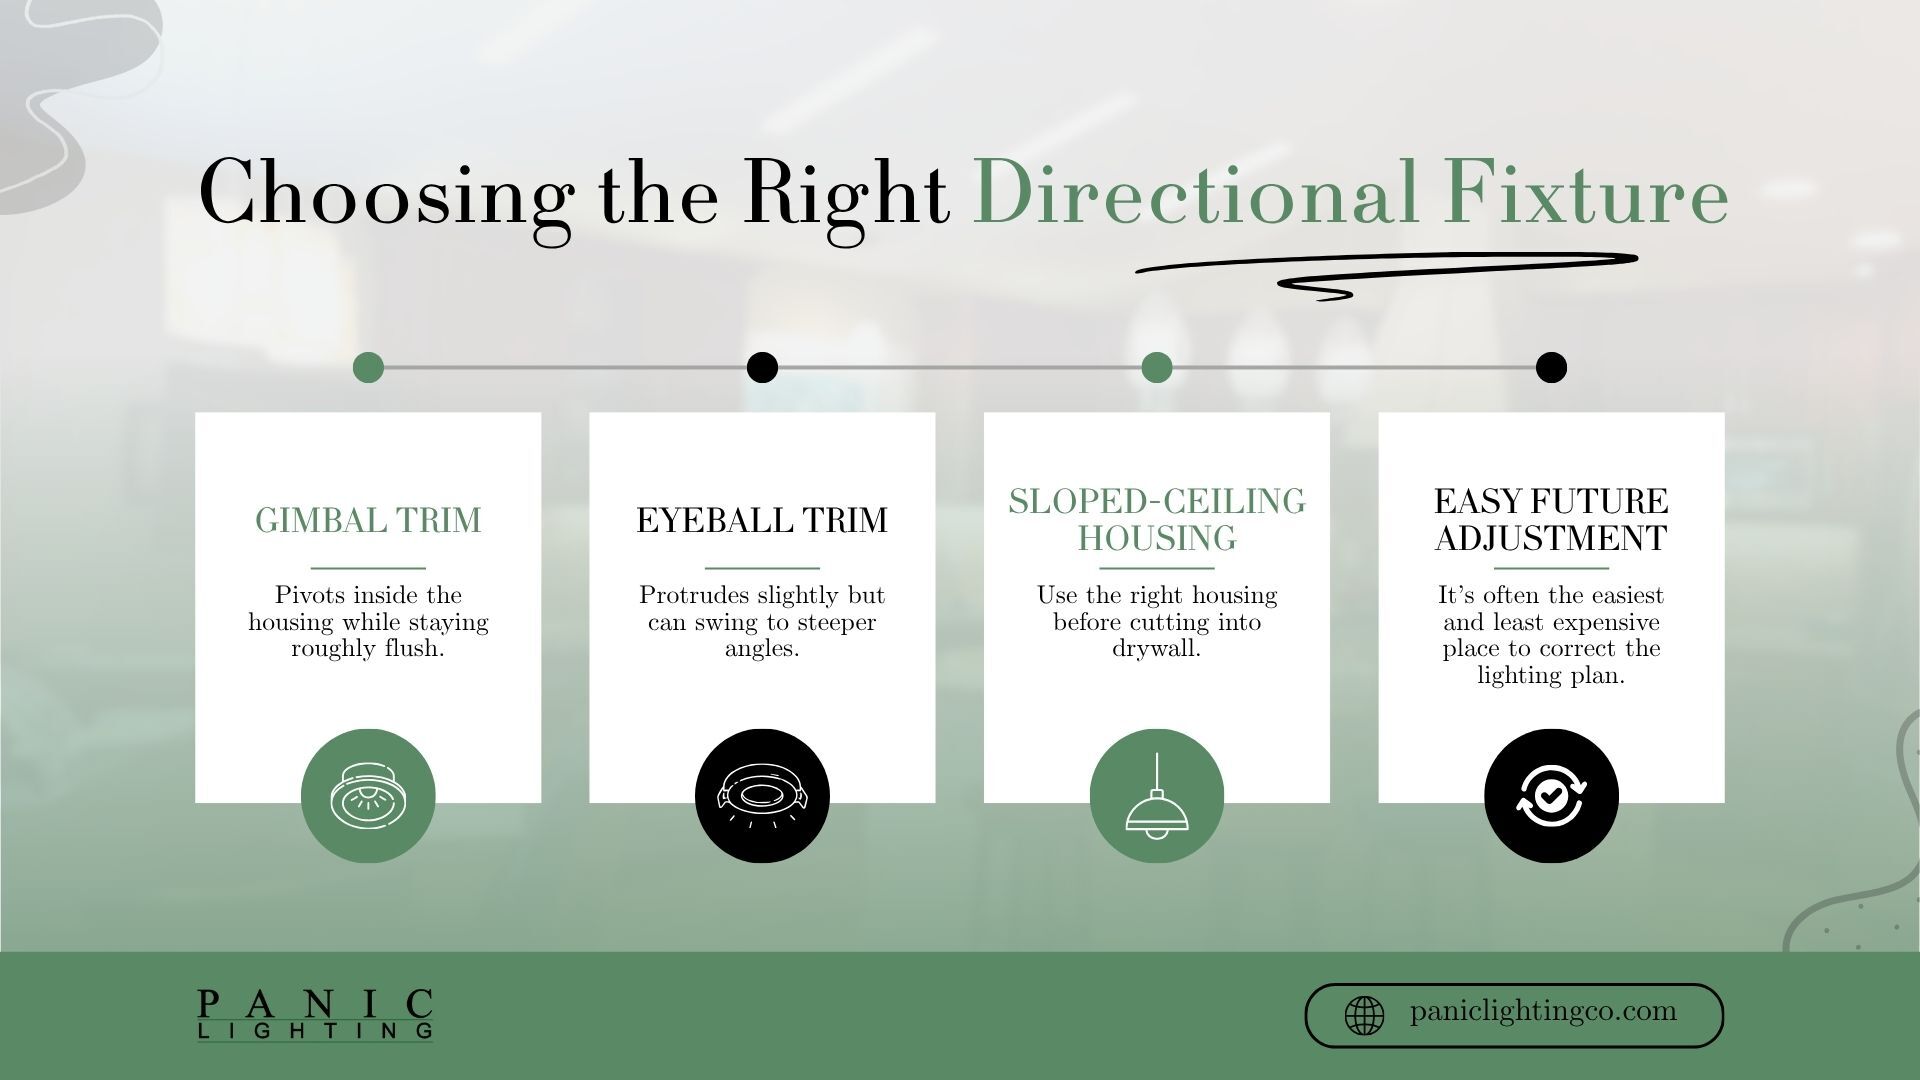
These are recessed cans you can aim. A gimbal trim pivots on a yoke inside the housing and stays roughly flush with the ceiling. An eyeball trim is a ball that rotates in a socket and protrudes slightly, which lets it swing further but makes it visible.
Both do the same job. If you want the ceiling to stay clean, take the gimbal. If you need to reach a steep angle, such as a wall a long way from the fixture, the eyeball wins. Sloped ceilings have their own housings and are worth asking about before anything gets cut into drywall.
The trim is also the piece you can change later without touching the housing, which makes it the cheapest place to correct a lighting plan that did not work out. The choice between the two, and the point where a tilted trim starts clipping its own beam, is worked through in gimbal or eyeball recessed trims.
Mono-points and track heads
A mono-point is one aimable head on its own small canopy, wired to a single junction box. It is what you use when you want exactly one spot and nothing else, and it looks deliberate rather than leftover.
Track puts several heads on a shared run of power and lets you slide them along it. That flexibility is the real argument for it. Rooms where the art changes, or where the furniture has not settled yet, are track rooms. Which of the two suits a given ceiling, and why heads from one rail standard will not fit another, is covered in track or mono-points.
Surface-mount and wall-mounted directional lights
Not every ceiling can take a recessed can. Concrete, plaster you would rather not open, and finished basements all push you towards surface-mounted heads that screw to the ceiling and aim from there.
Wall-mounted versions do the same on a vertical surface. Picture lights are the familiar case, sitting above a frame and pointing down at it, and they suit a wall where running power to the ceiling would mean real damage. We keep picture display lights in with the sconces rather than in the directional aisle, which catches people out.
multi-head fixtures
A multi-directional fixture puts two, three, or four aimable heads on one mount. The appeal is obvious: one electrical box, several targets, no track to install.
The trade-off is that the heads share a location, so everything they light has to be reachable from that one point on the ceiling. They work beautifully down the middle of a gallery wall and poorly when the targets are scattered around a room.
Lighting Artwork Without Cooking It
Art is the job aimed at light is best at, and the one with a constraint attached, because light fades things and the damage adds up rather than resetting each morning.
Two rules cover most of it. Keep the level modest, since works on paper, photographs, and textiles tolerate far less than an oil painting does, and federal museum practice puts roughly a fourfold gap between those categories. Then aim from off to one side, because anything behind glass throws a reflection straight back at whoever stands in front of it, and a fixture mounted directly opposite a frame produces a bright rectangle and an invisible painting.
Dimming solves more than fixture choice does. An aimed fixture at full output is almost always brighter than a wall needs.
The published light levels, the ultraviolet threshold, how to judge brightness without a meter, and what to do with pieces too precious to display are all covered in how to light artwork at home.
Outdoor Aiming, and the Two Mistakes We See Most
Outdoor is where directional lighting earns its money in Columbus, because the housing stock gives it something to work with. Brick is everywhere here, from German Village through Victorian Village and up into Clintonville, and brick is the one surface that rewards grazing: mount the fixture close to the wall, aim it straight up the face, and the raking light turns every irregularity in the masonry into texture. Do the same thing to smooth siding, and you get a bright stripe and nothing else.
Trees take the opposite approach. Set the fixture back from the trunk and aim into the canopy, and the branches carry the light upward. Our outdoor directional lights come with adjustable knuckles for exactly this, because the aim you want in the first week is never the aim you want in the second.
The first common mistake is seasonal, and September is when it starts to show. An uplight set into a full maple canopy in July is aimed at bare branches by early November, and the beam that was hidden in the leaves is now crossing straight into a bedroom window on the next lot. Anything aimed up gets re-checked once the leaves are down. It takes ten minutes, and it is the difference between a lit tree and an annoyed neighbour.
There is more on grazing, silhouetting, tree mounting and seasonal re-aiming in our guide to where to place outdoor uplighting.
The second is simple over-lighting. Two well-aimed fixtures on the front of a house read as intentional. Eight of them read as a car park, and the eye adjusts to the brightest thing in view, so adding more light to everything makes the feature you cared about disappear. On a patio, a couple of grazing fixtures and some low-level path lights will beat a floodlight every time, which is the logic behind most of what we put together for a covered patio.
How Many Fixtures Do You Need, and Where Do They Go?
Start from the target rather than the ceiling. Count the things in the room that genuinely deserve attention, which in most rooms is one to three, and put a fixture on each. Then stop and look at what you have before adding anything.
For a run of wall you want lit evenly, the fixtures come away from the wall rather than sitting tight against it, and they get spaced at roughly the same interval as that offset. Sitting them too close produces scallops of light with dark gaps between, which is the effect most people are trying to avoid when they call it wall washing.
| Situation | Starting point we use on the floor |
| Washing a wall evenly | Offset from the wall about a quarter to a third of the ceiling height, then space the fixtures at a similar interval |
| Grazing brick or stone for texture | Fixture close to the surface, aimed nearly parallel to it |
| Single framed piece | one head, beam narrow enough to land inside the frame, aimed from off-centre |
| Task surface | wide enough beam to cover the working area without a hard edge across it |
These are starting points rather than code, and the ceiling height, the finish on the wall and the reflectance of the paint all move them. A matte charcoal wall swallows light that a cream one would bounce back into the room.
The layering rule underneath all of it: aimed light needs something ordinary around it to work against. A room lit entirely with spots looks like a shop window. Keep the ambient layer, dim it, and let the directional light fixtures do the pointing. If the fixtures are going into the ceiling, our adjustable recessed trims are the place to start, and it is worth settling the beam before you commit to a fixture you cannot re-aim.
What to Bring When You Come In
Bring photographs of the room with the existing lights on and off, the ceiling height, and the measurements of whatever you want lit. If it is a painting, the frame dimensions and whether it sits under glass will change the recommendation immediately. Knowing where the existing junction boxes are saves an entire conversation.
The reason to stand in a showroom for this rather than order from a photograph is that beam angle is close to impossible to judge on a screen. Two heads that look identical online throw very different cones, and you can see that in ten seconds under a lit display and not at all in a product listing. We keep the floor lit for that reason. Come and stand under a few, tell us what you are lighting, and we will narrow it down with you at Panic Lighting Co. on Silver Drive.